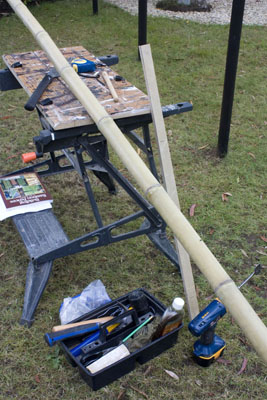
The next task was to cut and fit the dōbuchi. The photo on the right shows some of the tools needed.
First it was necessary to decide exactly at what height to position the dōbuchi. This was essentially an aesthetic issue, but it is traditional for the height of the tateko above the upper dōbuchi to be slightly greater than the distance between the dōbuchi, and the 'eyes' should be as square as possible. It may be worth at this stage doing some sketches or computer models to visualise the result. For guidance, I chose heights for the dōbuchi of 140mm, 420mm and 700mm above the ground.
To make life easy, I made a measuring stick marked with the height of tateko and dōbuchi, which I could then use for marking the oyabashira and mabashira (using chalk).
The dōbuchi were then cut roughly to length and test-positioned between the oyabashira.
next