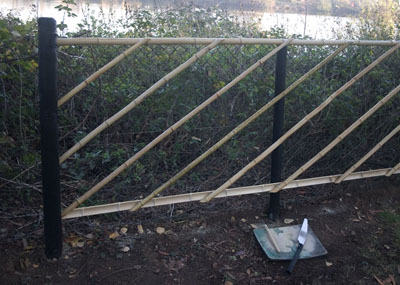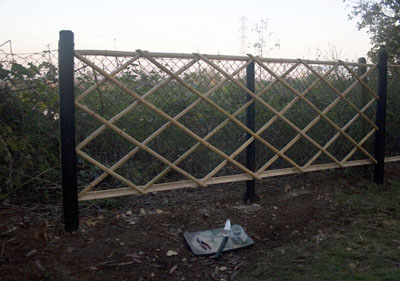
The next step was to mark the positions for kumiko on the top dōbuchi, again using chalk. This needs to be done with care to ensure that the diamond pattern is regular.
The top photo shows half of the kumiko fixed, with the opposite direction yet to be done. The bottom photo shows all kumiko in place.
Each piece of kumiko was attached to the top and bottom rails using twisted wire, and fixed to the oyabashira and mabashira using annular nails (again making sure to drill the bamboo first to prevent splitting).

Note that the traditional method would involve chiselling motrices in the oyabashira, but I felt that this was unnecessary.
Note also the Japanese bamboo saw - an invaluable tool to ensure clean cuts.
next